General
- General
- Solutions
- Products
- Cases
- Technology
- News
Setting up a PA (Public Address) system is essential for businesses that need to deliver clear and effective audio to large audiences. Whether it’s for announcements, background music, or emergency alerts, a properly configured PA system ensures seamless communication. In this guide, we’ll walk you through the steps to set up a PA system for your business.

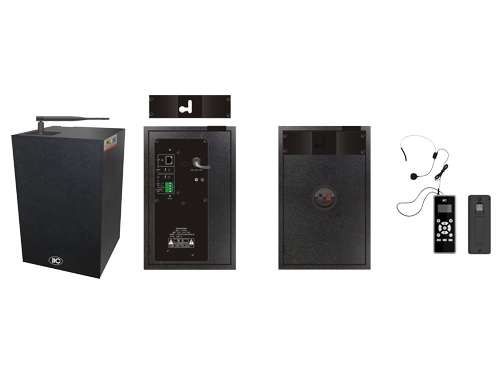
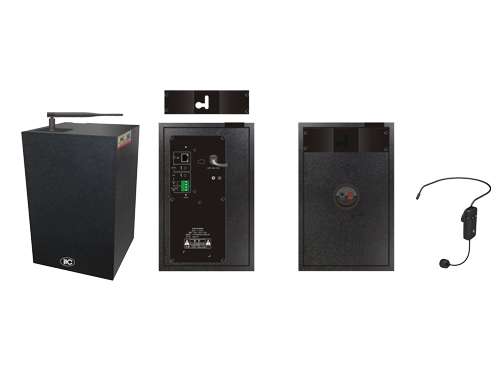
A PA system is a combination of microphones, amplifiers, speakers, and mixers designed to amplify and distribute sound across a wide area. It’s commonly used in businesses, schools, public spaces, and events to ensure clear audio delivery.

Step 1: Choose the Right Equipment
Before setting up, ensure you have the necessary components:
Microphones: Dynamic or condenser microphones for capturing sound.
Mixer: To adjust audio levels and balance multiple inputs.
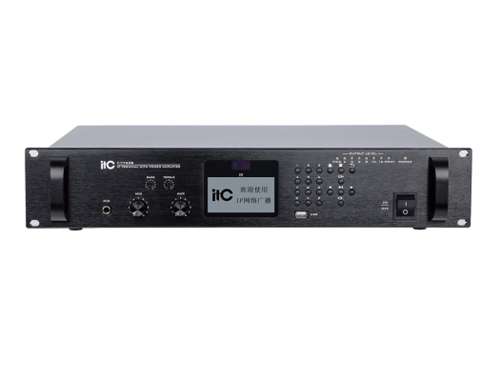
Amplifier: To boost the audio signal.
Speakers: To deliver sound to the audience.
Cables: XLR cables for microphones, speaker cables, and power cords.
Step 2: Set Up the Microphones
Place the microphones in their designated positions (e.g., on a podium or desk).
Connect the microphones to the mixer using XLR cables.
Ensure the microphones are securely mounted and positioned for optimal sound capture.
Step 3: Connect the Mixer
Plug the mixer into a power source.
Connect the microphones to the mixer’s input channels.
Use the mixer’s controls to adjust the volume, EQ, and effects for each microphone.
Step 4: Connect the Amplifier
Connect the mixer’s output to the amplifier’s input using an XLR or RCA cable.
Ensure the amplifier is powered on and set to an appropriate volume level.
Step 5: Set Up the Speakers
Position the speakers in the desired locations (e.g., on stands or mounted on walls).
Connect the amplifier’s output to the speakers using speaker cables.
Test the speakers to ensure they are functioning correctly.
Step 6: Test the System
Turn on all components and check for power.
Speak into the microphone and adjust the mixer and amplifier settings for clear sound.
Walk around the venue to ensure the sound is evenly distributed.
Step 7: Fine-Tune the Sound
Use the mixer’s EQ controls to adjust bass, mid, and treble frequencies.
Add effects (e.g., reverb or delay) if needed.
Conduct a final sound check with all audio sources (e.g., microphones, background music).

Acoustics: Consider the venue’s acoustics and adjust speaker placement accordingly.
Cable Management: Keep cables organized and avoid trip hazards.
Backup Equipment: Have spare microphones, cables, and batteries on hand.
Monitor Speakers: Use monitor speakers for presenters to hear themselves clearly.
1. How Many Speakers Do I Need?
The number of speakers depends on the venue size. For small spaces, 1-2 speakers may suffice, while larger venues may require multiple speakers.
2. Can I Use Wireless Microphones?
Yes, wireless microphones offer flexibility and reduce cable clutter. Ensure they are properly synced with the mixer.
3. How Do I Prevent Feedback?
Avoid placing microphones too close to speakers, and use the mixer’s EQ controls to reduce frequencies that cause feedback.
4. What is a Mixer, and Do I Need One?
A mixer allows you to control multiple audio sources and adjust sound levels. It’s essential for professional setups.
Conclusion
Setting up a PA system is a straightforward process when you follow the right steps. Whether you’re using it for business announcements, events, or public spaces, this guide ensures you achieve clear and effective sound delivery.
Ready to explore professional PA systems for your business? Check out our range of high-quality equipment and solutions today!
Please leave a message if necessary, we will contact you as soon as possible!